What “background removal” really means in practice
You usually picture “background removal” as one click that leaves a perfect cutout. In practice, it’s a mix of decisions: what counts as “subject,” how to handle fine details (hair, fur, glass), and whether you need true transparency (a PNG with an alpha channel) or just a solid color behind the subject. The hardest part is the edge: shadows, motion blur, and similar colors between subject and backdrop create halos or jagged outlines.
A clean result also depends on your starting file. Small, heavily compressed images and busy backgrounds raise the cost in time because you may need manual touch-ups, not just an automatic cutout.
When ChatGPT can help—and when it can’t
ChatGPT can help remove image backgrounds when the version in use supports image editing or has access to a background-removal tool. Upload an image, and the available tools may be able to isolate the subject, remove the backdrop, and return a PNG with transparency. ChatGPT can also help identify likely trouble spots, such as fine hair, glass, or low contrast, and suggest ways to clean up uneven edges.
The available features matter, though. Text-only access does not allow direct image editing, and precise, production-ready edges may require specialized software. A small, blurry product photo also lacks enough detail for reliable reconstruction, while a tool without alpha-channel support cannot export genuine transparency. When these limits arise, use a dedicated background remover to create the transparent PNG, then use ChatGPT to review the result and guide any remaining touch-ups.
Your image type changes the outcome fast
You can often predict the result before you edit anything by looking at the file itself. A high‑resolution product photo shot against a plain wall or sweep is “easy mode”: clean separation, fewer edge guesses, and a transparent PNG that looks believable on a new background. A small image pulled from a website thumbnail is the opposite. Heavy JPEG compression creates blocky edges and color smearing that turn into halos once the background is removed, even if the subject is simple.
The subject material matters as much as the background. Solid objects (boxes, bottles, phones) usually cut out cleanly. Hair, fur, lace, smoke, and glass force the tool to estimate partial transparency, which is where results start looking weird. Logos and text on a sign can also degrade fast if the image is slightly blurry.
JPEGs don’t store transparency, and PNGs only help if the edge pixels are sharp. If you can choose, start from the largest, least-compressed original you have—even if it costs a minute to find it.
Two practical workflows: quick cutout vs clean, professional edges
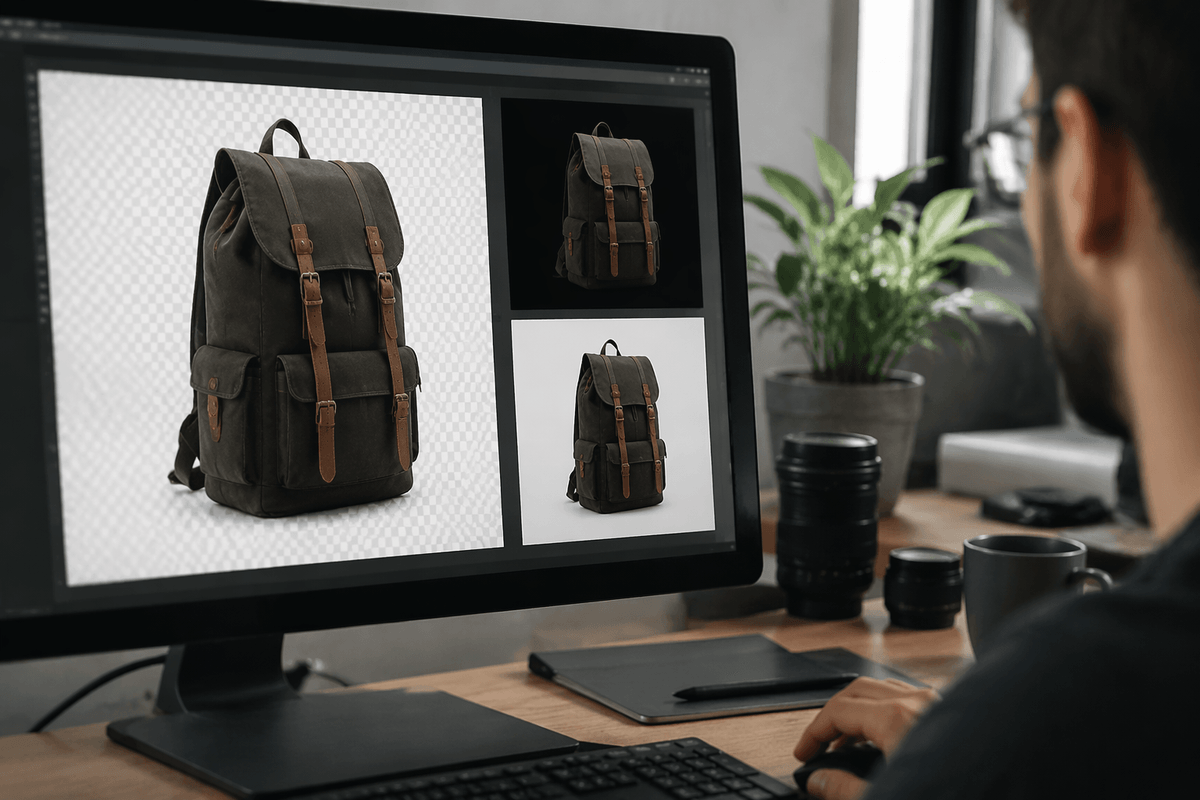
For quick cutouts, use the highest-resolution image available and focus on isolating the main subject rather than preserving every small detail. Slightly soft edges may be acceptable for casual use. When the available ChatGPT tools support transparent PNG output, request that format and inspect the result against both light and dark backgrounds. If transparency is unavailable, choose a solid background suited to the final design, such as white for marketplace listings or a brand color for presentation slides. A matching background can make minor edge imperfections less noticeable.
Professional-quality cutouts usually need a second round of editing. Begin with the best automatic result from ChatGPT or a dedicated background-removal tool, then save the subject as a transparent PNG. Zoom in to inspect areas where masking errors tend to appear, including fine hair, product handles, gaps between fingers, and soft shadows beneath objects. For realistic results, preserve natural shadows or rebuild them on a separate layer rather than removing all depth or leaving a harsh outline around the subject.
Tools to pair with ChatGPT for best results
You’ll move faster if you treat ChatGPT as the coordinator and use one purpose-built tool for the actual cutout when needed. A dedicated background remover is the quickest way to get a transparent PNG reliably, especially for product photos and profile images. Even when the first pass looks “done,” download the result at the highest available resolution so you’re not locking in soft edges.
After that, a simple editor is where quality usually improves the most. You want three basics: a refine edge or feather control, a soft brush for cleanup, and the ability to view the cutout on both white and dark backgrounds. That’s how you spot halos around hair, missed gaps, and leftover color spill. If you’re doing listings or presentations, a template-based tool can also standardize sizing and margins so every image looks consistent.
Every tool switch adds friction. If you’re editing dozens of images, pick one remover and one editor you can repeat, and use ChatGPT mainly to diagnose what’s wrong and what to fix first.
Common failures: halos, jagged edges, and weird cutouts

Cutout problems become obvious when the subject is placed against a different background. A pale or dark halo around the edges usually comes from color spill from the original backdrop or overly aggressive edge smoothing. Try shrinking the mask by a pixel or two and applying a slight feather, then use edge-color decontamination if your editor supports it. When that option is unavailable, carefully cleaning the boundary with a soft brush often works better than generating the cutout again.
Jagged edges typically result from low-resolution images, heavy JPEG compression, or segmentation that forces each pixel into a hard foreground-or-background decision. Upscaling makes these rough edges larger without restoring the missing detail. Start with the highest-resolution source available, then smooth only the affected areas. Excessive smoothing may distort product contours and make text look fuzzy. Other errors include missed openings between fingers or handles and the accidental removal of thin details such as straps or loose hairs. These areas usually need manual correction, which is where the time saved by free background-removal tools can quickly disappear.
A simple decision checklist before you start
If you can answer a few questions up front, you’ll pick the fastest workflow. Do you need true transparency (a PNG with an alpha channel), or will a solid white/brand-color background work? Is your source image the largest, least-compressed version you can get, or is it a small JPEG thumbnail that will halo no matter what? Is the subject “hard edge” (box, bottle, phone) or “soft edge” (hair, fur, glass) that will likely need manual cleanup?
Then choose: if your ChatGPT setup supports image editing and can export transparent PNGs, do one pass and inspect on both light and dark. If not, run a dedicated remover first, download at max resolution, and budget 5–10 minutes for edge fixes on anything soft or low-contrast.